Easy Peppermint Sugar Cookie Bars: A Cozy Holiday Treat
There’s something heartwarming about the aroma of baked goods wafting through the house during the holiday season. It’s the scent of nostalgia — those cozy evenings spent baking with family, recalling how we’d sneak a spoonful of cookie dough when no one was watching. My foray into baking often resembled a mad science experiment more than a Martha Stewart affair. Like the time I was convinced I could bake cookies without actually measuring ingredients. Spoiler alert: it didn’t go well. But that messy kitchen experience led me to perfect recipes over time — like these Peppermint Sugar Cookie Bars.
Now, why do these peppermint bars hold a special place in my heart? Picture this: It’s a chilly December evening, the twinkling lights of the tree shimmer in the corner, and I have my favorite mug filled with hot cocoa close by. The kitchen is warm, filled with the sweet and minty aroma of peppermint and sugar. It’s a moment I cherish. These bars are incredibly easy to whip up, making them perfect for gatherings or simply indulging on a quiet night in. They have that holiday magic wrapped up in them.
To be real, let’s talk about peppermint for a second. I didn’t exactly jump on the peppermint train at first. I had my foot dragged onto it kicking and screaming. The strong mint flavor? It terrified me. But when I took a bite out of these cookie bars for the first time, I was a total convert. They’re soft, chewy, and topped with creamy frosting and crushed peppermint candies that give a delightful crunch. Honestly, what’s not to love?
So, grab your apron and let’s get to work. Messes will happen; flour may fly. But it’s all part of the fun, right?
Why You’ll Love This Recipe
- Easy to Make: If I can do it, so can you. With simple steps and no advance prep needed, these bars are quick to whip up.
- Festive Flavor: ‘Tis the season for peppermint! These bars capture that perfect holiday vibe.
- Crowd-Pleaser: Picky eaters? Kids? Everyone can get behind these delightful squares. They feel like a hug in dessert form.
- Great for Leftovers: If there are any leftovers (spoiler alert: there usually aren’t), they store well and make for a sweet treat throughout the festive season.
- Versatile Appearance: They can be dressed up for parties or kept casual for a cozy night in, making them an adaptable recipe.
What Makes This Recipe Special?
These Peppermint Sugar Cookie Bars aren’t just your ordinary cookies — they pack a ton of flavor into each bite, trust me! The use of both vanilla and peppermint extracts creates a beautiful balance, ensuring the mint doesn’t overpower but rather complements the sweetness. Then there’s the frosting — it’s creamy, dreamy, and the perfect finishing touch.
I also love that the whole process evokes that cozy, loving nostalgia that we all crave. Each time I bake these bars, I’m reminded of my childhood kitchen with my mom, slinging flour everywhere and having a grand ol’ time. Mix up the dough, pour it into the pan, and let the oven take care of business. Easy and fulfilling? Count me in!
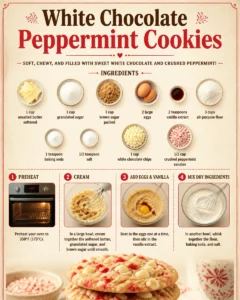
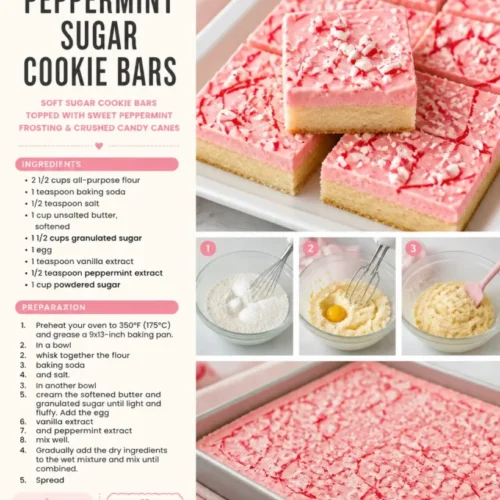
Ingredients
- 2 1/2 cups all-purpose flour: This is the foundation of your cookie bars, providing the structure.
- 1 teaspoon baking soda: It’s the leavening agent that helps the bars rise beautifully.
- 1/2 teaspoon salt: A pinch of salt enhances the flavors and balances the sweetness.
- 1 cup unsalted butter, softened: Softened butter blends easily into the sugar, giving a velvety texture.
- 1 1/2 cups granulated sugar: Sweetness is key here; this is what makes the bars addictively delicious.
- 1 egg: It binds everything together.
- 1 teaspoon vanilla extract: For that lovely warm flavor.
- 1/2 teaspoon peppermint extract: Just the right amount of mintiness without overwhelming the palate.
- 1 cup powdered sugar: Essential for the creamy frosting on top.
- 2 tablespoons milk: This gives the frosting the perfect consistency.
- Red food coloring: A fun holiday touch to make your frosting pop.
- Crushed peppermint candies for topping: They add not just flavor, but a delightful crunch too!
Now, here’s where I’ll give my first piece of advice: make sure your butter is truly softened — not melted! If you rush this step, your cookies can turn out greasy. Not an ideal holiday disaster!
How to Make It Step-by-Step
Step 1: Preheat and Prepare
First thing’s first: crank that oven up to 350°F (175°C). Meanwhile, grease your 9×13-inch baking pan generously. I tend to over-grease to avoid any stickage issues. Let’s be real — no one wants to pull out a beautiful batch of cookies only to find them stuck to the pan.
Step 2: Whisk Dry Ingredients
In a bowl, grab a whisk and combine the flour, baking soda, and salt. This step ensures that everything is mixed evenly. The baking soda needs to give your bars the right lift, and salt just enhances all those sweet flavors.
Step 3: Cream the Butter and Sugar
Now for the fun part! In another bowl, beat together the softened butter and granulated sugar until it’s light and fluffy. I swear — nothing feels better than creaming butter and sugar together; it’s somehow therapeutic. Add in the egg, vanilla extract, and peppermint extract. Mix until everything is wonderfully combined.
Step 4: Combine Wet and Dry Ingredients
Slowly, and I mean slowly, incorporate the dry ingredient mixture into the wet one. I like to do this bit by bit so that it all comes together nicely without flour flying everywhere. This can get messy, but don’t fret! Embrace the chaos.
Step 5: Spread the Dough and Bake
Now to the final touch before baking — spread that delightful cookie dough evenly in your prepared baking pan. It can be a bit sticky, so a rubber spatula may help. Bake for 20-25 minutes until they’re lightly golden on top. Your whole house will smell like peppermint-y goodness; it’s one of the best feelings ever!
Step 6: Cool Completely
Once they’re out of the oven, let them cool completely. This part can feel like torture because the smell is seriously intoxicating. Patience, my friend. It will be worth it!
Step 7: Make the Frosting
In a bowl, beat together the powdered sugar, milk, and a few drops of red food coloring until smooth. Aim for that dreamy consistency; not too thick, not too runny.
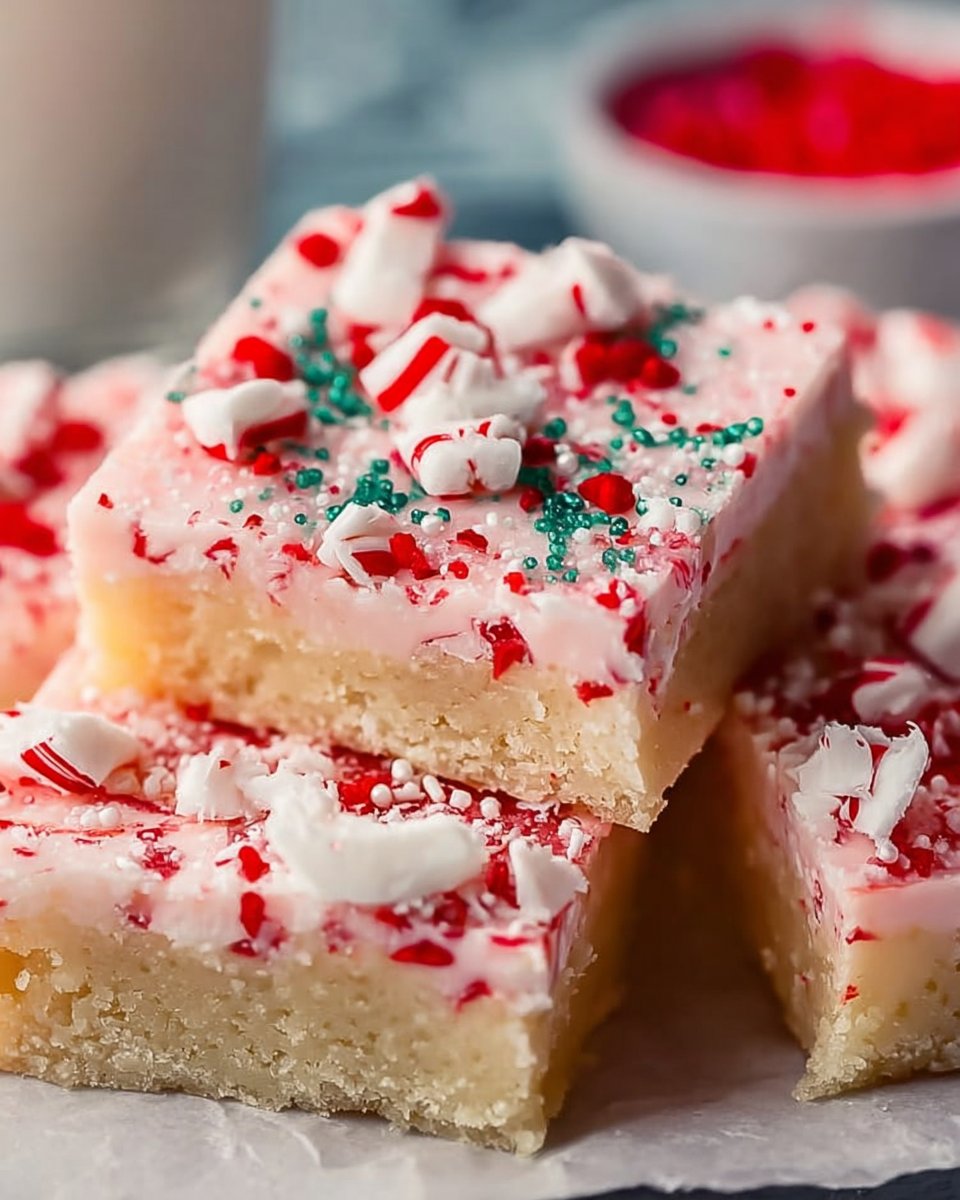
Step 8: Frost and Garnish
Spread that luscious frosting over your cooled cookie bars. For the final touch, sprinkle the crushed peppermint candies on top. Honestly, it not only looks festive but takes the bars to a whole new level.
Step 9: Cut and Enjoy
Cut into bars, serve them to your awaiting family, and watch their eyes light up! Oops, don’t forget to sneak a few for yourself.
Honestly, this whole process is a joyful blend of chaos and deliciousness, and I can’t recommend it enough.
Tips for Best Results
- Ensure your butter is properly softened and not melted. Softened is your friend here!
- Don’t overbake. The bars should look slightly underdone when you pull them out; they’ll continue to cook in the pan as they cool.
- Compliment your peppermint flavor with variations like crushed chocolate candies for an even richer experience.
Ingredient Substitutions & Variations
- Want to try a gluten-free version? Use a gluten-free flour blend instead of all-purpose flour.
- If you find that peppermint is a bit too strong for your taste, you can adjust the peppermint extract volume or use a different extract like almond for a unique twist.
- These bars can also embrace the season — swap out the peppermint candies for chopped cranberries or even chocolate chips!
Directions
- Preheat your oven to 350°F (175°C) and grease a 9×13-inch baking pan.
- In a bowl, whisk together the flour, baking soda, and salt.
- In another bowl, cream the softened butter and granulated sugar until light and fluffy. Add the egg, vanilla extract, and peppermint extract; mix well.
- Gradually add the dry ingredients to the wet mixture and mix until combined.
- Spread the cookie dough evenly in the prepared baking pan. Bake for 20-25 minutes or until lightly golden. Allow to cool completely.
- To make the frosting, beat together the powdered sugar, milk, and a few drops of red food coloring until smooth.
- Spread the frosting over the cooled cookie bars and top with crushed peppermint candies.
- Cut into bars and enjoy your festive treat!

Pairing Ideas (Drinks, Sides, etc.)
These Peppermint Sugar Cookie Bars pair wonderfully with:
- Hot Chocolate: Rich and creamy, alongside those minty bars? Yes, please!
- Eggnog: Get that holiday cheer flowing with a glass of this festive drink.
- Coffee or Tea: A perfect balance with a bit of caffeine to chase away the winter chill.
And let’s be honest, any holiday rom-com on your screen while enjoying these bars just adds to the coziness. That’s my perfect evening!
How to Store and Reheat Leftovers
Store any leftover bars in an airtight container at room temperature for up to 5 days.
If they last that long, you can gently warm them up in the microwave for about 10-15 seconds or enjoy them cold straight from the fridge. But be warned: these bars are so good that you may not have any leftovers to worry about!
Make-Ahead and Freezer Tips
These bars can be made ahead of time! Just bake, cool, frost, and store them in an airtight container. For longer storage, you can freeze them (without the frosting) for up to 3 months. When ready to enjoy, let them thaw in the refrigerator and then frost before serving.
Common Mistakes to Avoid
- Skipping the cooling step: It’s so tempting to frost warm bars, but you’ll end up with a gooey mess. Let them cool to achieve that perfect frosting texture.
- Using too much flour: Make sure to spoon and level the flour rather than scooping straight from the bag, which can compact it.
- Not tasting: If you’re unsure about the peppermint punch of glory, give it a taste during preparation. Adjust the extracts to your liking before it bakes!
Frequently Asked Questions (FAQ)
Can I use margarine instead of butter?
Technically yes, but I highly recommend using unsalted butter for the best flavor and texture.
Will these bars turn out if I use whole wheat flour?
While you can use whole wheat flour, they may end up a bit denser.
Can I prep cookie dough in advance?
Yes! You can prepare the dough, cover it tightly, and store it in your fridge for up to 2 days before baking.
Why did my bars turn out dry?
Ahh! This can happen if you overbake them or if there’s too much flour. Remember, the bars should look slightly underbaked when pulled from the oven.
What can I use instead of the peppermint extract?
You could use almond extract or even a splash of orange zest if peppermint isn’t your style.
Cooking Tools You’ll Need
- Mixing bowls in various sizes — trust me, they’ll come in handy!
- Measuring cups and spoons for precision (yes, even though you love the “just eyeball it” method).
- A whisk for those dry ingredients and a rubber spatula for scraping down your bowls.
- An electric mixer or hand mixer — saves time and muscles!
- A 9×13-inch baking pan — go for the non-stick if you want that easy release.
Final Thoughts
Baking these Peppermint Sugar Cookie Bars truly encapsulates the spirit of the holidays for me: the warmth, the laughter, and those little moments that bring us closer. Each bar is a bite-sized piece of joy, meant to be shared and savored.
So, get cracking! I can’t wait to hear about your own baking adventures with these fun bars. If you enjoyed this recipe, don’t forget to save it on Pinterest or share it with a friend! Happy baking!
Peppermint Sugar Cookie Bars
Ingredients
For the Cookie Bars
- 2.5 cups all-purpose flour Provides the structure of the cookie bars.
- 1 teaspoon baking soda Leavening agent for rising.
- 0.5 teaspoon salt Enhances flavor balance.
- 1 cup unsalted butter, softened Ensure it is softened, not melted.
- 1.5 cups granulated sugar Provides sweetness.
- 1 egg Binds ingredients together.
- 1 teaspoon vanilla extract Adds warm flavor.
- 0.5 teaspoon peppermint extract Provides minty flavor.
For the Frosting
- 1 cup powdered sugar For creamy frosting.
- 2 tablespoons milk Adjusts frosting consistency.
- Red food coloring For a festive appearance.
- to taste crushed peppermint candies For topping, adds crunch.
Instructions
Preparation
- Preheat your oven to 350°F (175°C) and grease a 9×13-inch baking pan.
- In a bowl, whisk together the flour, baking soda, and salt.
- In another bowl, cream together the softened butter and granulated sugar until light and fluffy. Add the egg, vanilla extract, and peppermint extract; mix well.
- Gradually add the dry ingredients to the wet mixture and mix until combined.
- Spread the cookie dough evenly in the prepared baking pan.
- Bake for 20-25 minutes or until lightly golden. Allow to cool completely.
Frosting
- To make the frosting, beat together powdered sugar, milk, and a few drops of red food coloring until smooth.
- Spread the frosting over the cooled cookie bars and top with crushed peppermint candies.
- Cut into bars and enjoy.