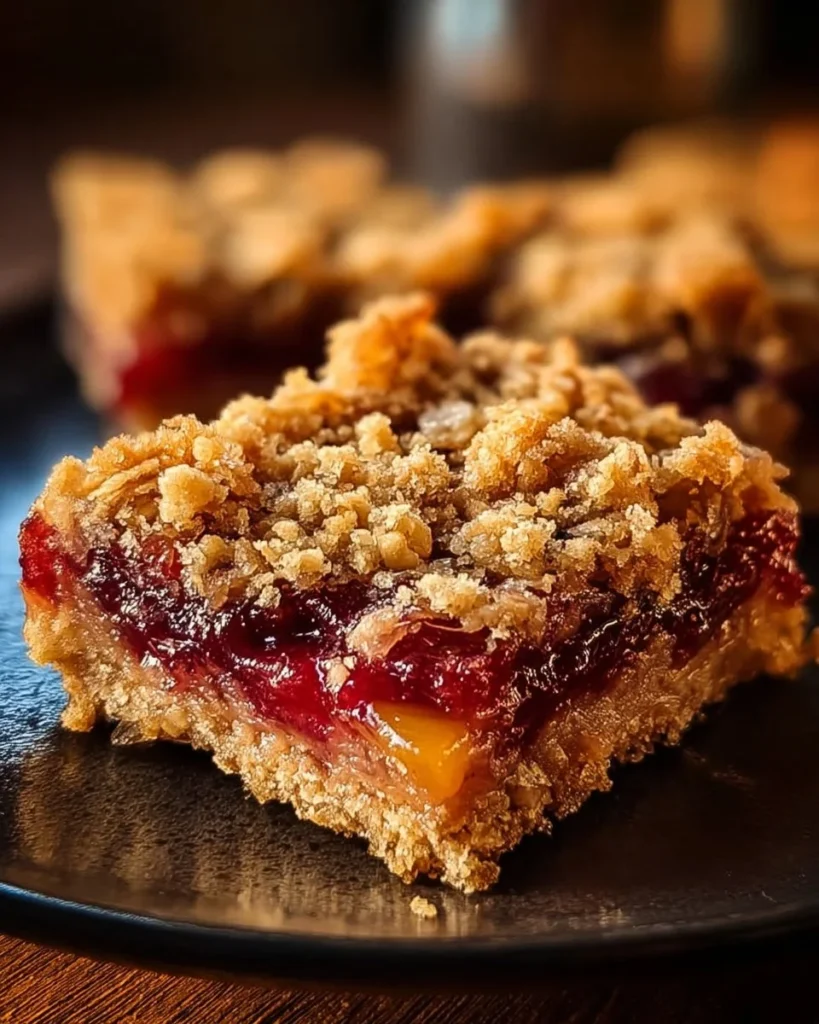
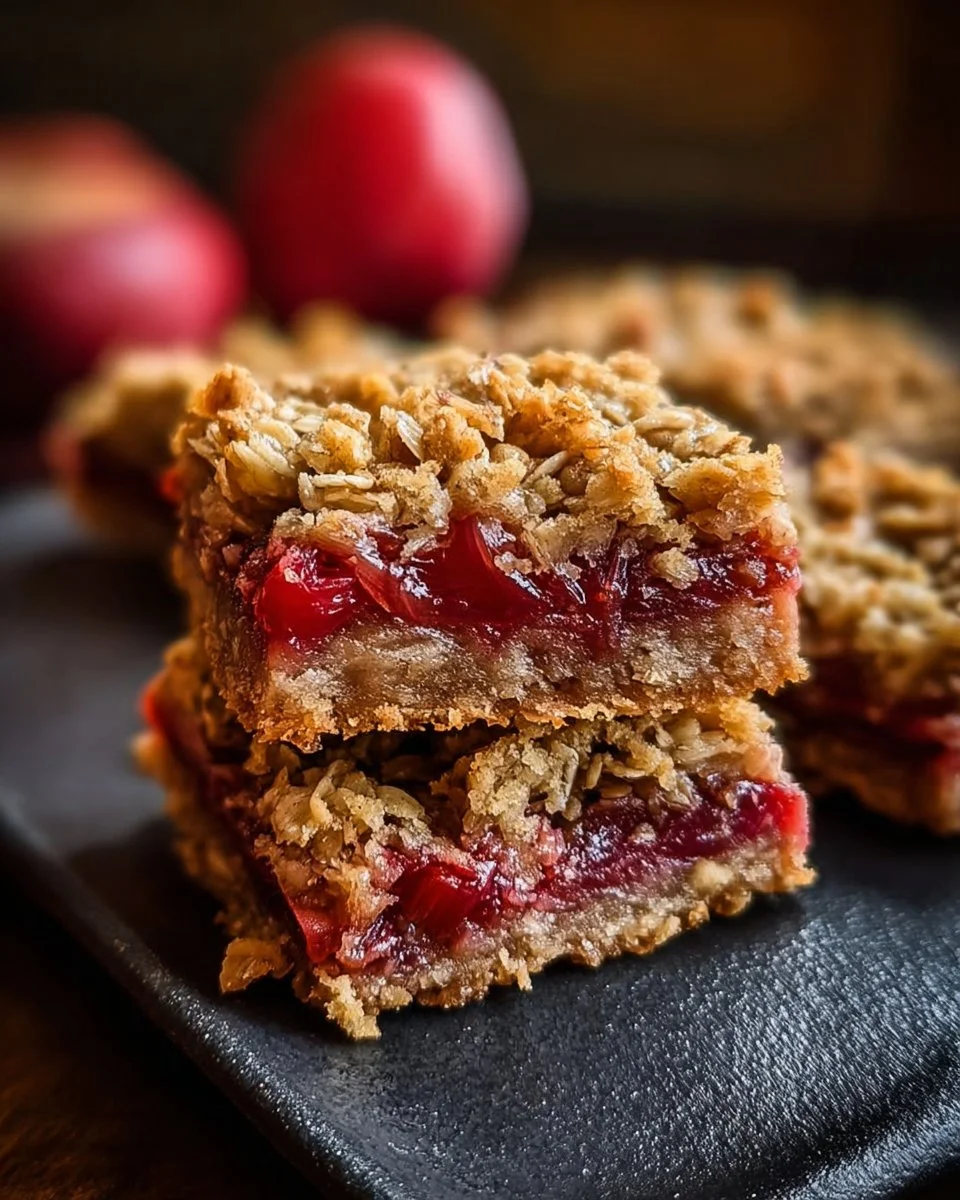
Delicious Amish Oatmeal Rhubarb Bars: A Sweet Slice of Nostalgia
You know those recipes that transport you back to your childhood with just one whiff? For me, those are the Amish Oatmeal Rhubarb Bars. I have a vivid memory of my grandma’s kitchen, filled with the delectable smell of baked goods, especially during rhubarb season. I can still picture her adorable apron, splattered with flour, as she pulled a pan of steaming bars from the oven. Honestly, the way those bars filled the whole house with warmth and sweet-tart fragrance was pure magic!
I attempted to replicate that magic in my kitchen, and let me tell you, it was not a pretty sight at first. I forgot to grease the pan, and let’s just say, those bars and the baking sheet had a serious falling out. But after some trial and error (okay, maybe more error), I’ve mastered the art of these easy, budget-friendly rhubarb bars. They’re not just a treat; they carry a meaningful connection to family gatherings, cozy nights, and warm memories. The way they crumble and melt in your mouth feels just like a hug in a bowl—perfectly comforting!
Let’s set the scene: It’s a sunny spring afternoon, the kind where the light dances through the windows, and there’s a gentle breeze. Everything seems right with the world. As I prepare to mix the ingredients, I can hear my kids playing outside, their laughter ringing through the air. It’s these little moments that remind me of why I love cooking so much—how it can thread through family life and connect us to our roots. And don’t get me started on that moment when I took my first bite; the inner child in me did a little dance. It’s a unique explosion of flavors—sweet, tangy, and comforting!
So, why exactly will you love these bars? Read on!
Why You’ll Love This Recipe
-
Comfort Food for Everyone: This recipe is like wrapping yourself up in a cozy blanket. The oatmeal crust gives a delightful crunch that complements the tangy rhubarb filling. It’s dessert and a snack rolled into one!
-
Easy to Make: Seriously, if you can mix a few ingredients, you can whip this up in no time. There’s no complex layering or fancy techniques—just simple, straightforward baking.
-
Perfect for Meal Prep: These bars store beautifully, making them ideal for those busy weeknights when you’re scrambling for quick family meals.
-
Flexibility with Ingredients: It’s super easy to swap in what you have on hand—whether you want to add some strawberries or maybe even some chocolate chips for a little twist.
-
Kid-Approved: The kids love these bars, and it’s a great way to sneak some fruit into their diets without a struggle.
-
Endless Possibilities: While I adore the original recipe, the flavor combinations and variations are endless—think of it as a canvas for your culinary imagination!
What Makes This Recipe Special?
To be honest, the magic of these bars lies in their simplicity. The combination of creamy butter and oats creates a crumbly crust that feels homey. The star of the show, rhubarb, with its vibrant pink hue and tartness, truly captures the essence of spring. When you mix it with a little sugar and lemon juice, it’s like a refreshing burst of sunshine.
And then there’s the nostalgia. Each bite transports me back to those simpler times, sitting at my grandma’s kitchen table, devouring a plateful of these bars while stories were told and laughter erupted. It feels good to bring that love into my own home and share it with my family.
Ingredients
Now, let’s dive into the goodies you need to bring these bars to life!
-
1 cup all-purpose flour: This is the backbone of the crust, giving it a perfect structure.
-
1 cup rolled oats: Adds that hearty texture and chewiness we all love; trust me, use rolled oats, not quick oats.
-
1/2 cup brown sugar: Because life needs a little sweetness. This gives the bars a lovely depth of flavor.
-
1/2 cup granulated sugar: Adds just the right amount of sweetness without overwhelming the tartness of the rhubarb.
-
1/2 cup butter, melted: We’re talking rich, creamy goodness here! It binds everything together so beautifully.
-
1 teaspoon cinnamon: A lovely, warm spice that takes everything up a notch!
-
1/2 teaspoon salt: Balances the sweetness, enhancing all the flavors in the bars.
-
2 cups rhubarb, chopped: This is what we’re here for! The tart, green wonder that shines through every bite.
-
2 tablespoons cornstarch: This will help thicken the rhubarb filling, giving it a luscious texture.
-
1 tablespoon lemon juice: Brightens up the entire filling and plays beautifully with the rhubarb’s innate tartness.
I recommend using fresh rhubarb if you’re lucky enough to find it during the season. If not, frozen works in a pinch, but make sure to thaw and drain excess moisture. Oh, and please—just a gentle note—be careful not to confuse your cornstarch with powdered sugar. I made that mistake once. Let’s just say, my bars were… interesting.
How to Make It Step-by-Step
Alright, grab your apron, and let’s get our hands a little messy!
Step 1: Preheat the Oven: Set that oven to 350°F (175°C). Your future self will thank you for preparing ahead.
Step 2: Grease the Baking Pan: This is where my previous disaster struck, so trust me when I say don’t skip this part. Use a little butter or nonstick spray to coat your 9×9 inch baking pan.
Step 3: Combine the Dry Ingredients: In a large bowl, mix the flour, oats, brown sugar, granulated sugar, cinnamon, and salt together. I love to use a whisk for this part—it makes it feel really airy.
Step 4: Add the Butter: Pour the melted butter into the dry mixture, stirring until it resembles coarse crumbs. It’s like magic when it all comes together!
Step 5: Press into the Pan: Now reserve 1 cup of this crumbly mixture for topping later. With the rest, press firmly into the bottom of your prepared pan. Use your fingers and get in there, like you’re creating a mini crust.
Step 6: Prepare the Rhubarb: In another bowl, combine the chopped rhubarb, cornstarch, and lemon juice. Seriously, you’ll be greeted with a tangy aroma that’s downright refreshing!
Step 7: Spread the Rhubarb Mixture: Gently distribute the rhubarb mix over the crust, making sure it’s evenly spread.
Step 8: Crumble the Reserved Topping: Sprinkle that reserved crumb mixture over the top of the rhubarb. Don’t be shy—let it generously cover the filling!
Step 9: Bake: Place the pan in the oven and let it work its magic for about 30-35 minutes or until the top is a lovely golden brown. You’ll know it’s done when the kitchen smells incredible, and you can barely resist peeking in!
Step 10: Cool and Cut: Once done, remove the pan from the oven and let it cool. This is the hardest part—because waiting feels like eternity. But if you rush it, you’ll end up with a gooey mess! Trust the process.
I can’t tell you how many times I’ve cut into warm bars, and they’ve gone all over the place. Let them chill a bit; it’s totally worth it!
Tips for Best Results
Just a few tweaks can elevate your bars to the next level:
-
Texture Variations: If you want a little extra heartiness, try adding nuts or seeds into the crust mixture. I love sliced almonds for their crunch!
-
Chill the Dough: If your dough seems too soft, pop it in the fridge for 15-20 minutes before pressing it into the pan.
-
Sugar Adjustments: Depending on how tart your rhubarb is, you may want to adjust the sugar a bit. Taste testing is highly encouraged!
Ingredient Substitutions & Variations
This recipe is wonderfully adaptable!
-
Fruit Swap: Not a fan of rhubarb? Try berries, apples, or even peaches! Adjust the sugar based on your fruit’s sweetness.
-
Gluten-Free Option: You can sub the all-purpose flour with a gluten-free blend, but make sure it’s a 1:1 ratio.
-
Vegan Friendly: Swap butter for coconut oil and use a flax egg in place of the moisture-binding aspect.
Directions
Pair these delightful bars with a nice cup of tea or coffee, and you’ve got the ultimate cozy evening snack. I like to curl up with a rom-com and these bars—perfect combo!

How to Store and Reheat Leftovers
If you happen to have any leftovers (which I highly doubt!), store them in an airtight container in the fridge. They’ll last up to a week; but honestly, good luck making them last that long!
When you’re ready to devour them again, just pop them in the microwave for about 10-15 seconds to warm them up. They’ll taste just as delicious as when they first came out of the oven.
Make-Ahead and Freezer Tips
You can easily make these bars a day in advance—just cool them completely and store them covered in the fridge. If you want a stash for later, freeze them in a single layer and then transfer to a freezer-safe container. When you’re ready to enjoy, let them thaw in the refrigerator overnight.
Common Mistakes to Avoid
-
Skipping the Grease: Trust me; after experiencing the sticky disaster, grease the pan every single time!
-
Not Measuring Accurately: Baking requires precision—eyeballing it might lead to uneven textures!
-
Cutting Before Cool: Patience is a virtue here. When they cool too quickly or are cut too soon, they can fall apart.
Frequently Asked Questions (FAQ)
Can I use frozen rhubarb?
Yes! Just thaw and drain excess moisture before using it.
How long do these last?
Stored in the fridge, they should last about a week, but good luck keeping them around that long!
What’s the best way to serve them?
They are fabulous on their own, but a scoop of vanilla ice cream or a drizzle of whipped cream can take them to heavenly heights.
Can I double the recipe?
Absolutely! Just use a bigger pan and increase the baking time slightly.
Cooking Tools You’ll Need
- Mixing bowls—various sizes help!
- A whisk—perfect for dry ingredients.
- 9×9 inch baking pan—really important for even baking.
- A sharp knife for cutting those delicious bars!
Final Thoughts
Baking these Delicious Amish Oatmeal Rhubarb Bars felt like a warm trip down memory lane. I’m thrilled to share these feelings and flavors with you. Cooking isn’t just about nutrition; it’s about creating experiences and cherished moments, often with a bit of chaos and laughter included.
I would love to hear how your bars turned out, what tweaks you made, or your own childhood stories related to rhubarb! If you enjoyed this recipe, don’t forget to save it on Pinterest or share it with a friend!
And if you’re keen for more inspired recipes, you might enjoy reading about these amazing treats: Amish Oatmeal Rhubarb Bars (with Crumb Topping), Oatmeal Rhubarb Bars | Buttermilk by Sam, and Oatmeal Rhubarb Bars The Best Butteriest Ever | GB’s Kitchen!