Easy Chocolate Coffee Whoopie Pies: A Cozy Kitchen Adventure
There are some desserts that manage to wrap you in a warm hug, and for me, Chocolate Coffee Whoopie Pies are absolutely at the top of that list. Honestly, it’s like biting into a fluffy cloud of cocoa with a hint of coffee that makes you feel like you’re sitting by a fireplace on a chilly evening, wrapped in a soft blanket. If you were to peek into my kitchen around this time of year, you’d likely find me experimenting with these delightful treats, laughing at my mess while I juggle flour, cocoa powder, and dreams of sweet perfection.
I remember the first time I attempted to make whoopie pies. Let’s just say it was a comedy of errors. The batter ended up everywhere – from my hair to the floor (sorry, Mom!). But once I embraced the chaos and let go of my food blogger perfection aspirations, I realized that cooking is just about having fun and creating something delicious, even if it looks like a hot mess sometimes! It’s not about the finished product; it’s about the memories created in the process.
The aroma of chocolate mingling with coffee in the air is enough to make anyone feel at home. Whether it’s a rainy day or a chilly fall afternoon, these whoopie pies evoke comfort. They remind me of my childhood when my mom would whip up batches of cookies while we watched movies together. I can still hear the sound of the mixer whirring while we giggled about life as the smell of baked goodies wafted through the house.
So, let’s dive into this delightful recipe and create some cozy vibes together!
Why You’ll Love This Recipe
-
Easy to Make: Even if you’re a novice in the kitchen, this recipe is straightforward and invites you to improvise.
-
Comfort Food: They feel like a hug but in dessert form— soft, sweet, and entirely satisfying.
-
Perfect for Sharing: These whoopie pies are perfect for parties or potlucks; watch them disappear in seconds!
-
Picky Eater Approved: Who doesn’t love chocolate? You can easily win over even the choosiest of eaters.
-
Flexible and Versatile: You can swap out the filling or even add unique flavors to the cake!
-
Great Leftovers: If you can manage to have any left after a family gathering, they keep beautifully in the fridge for snack time!
What Makes This Recipe Special?
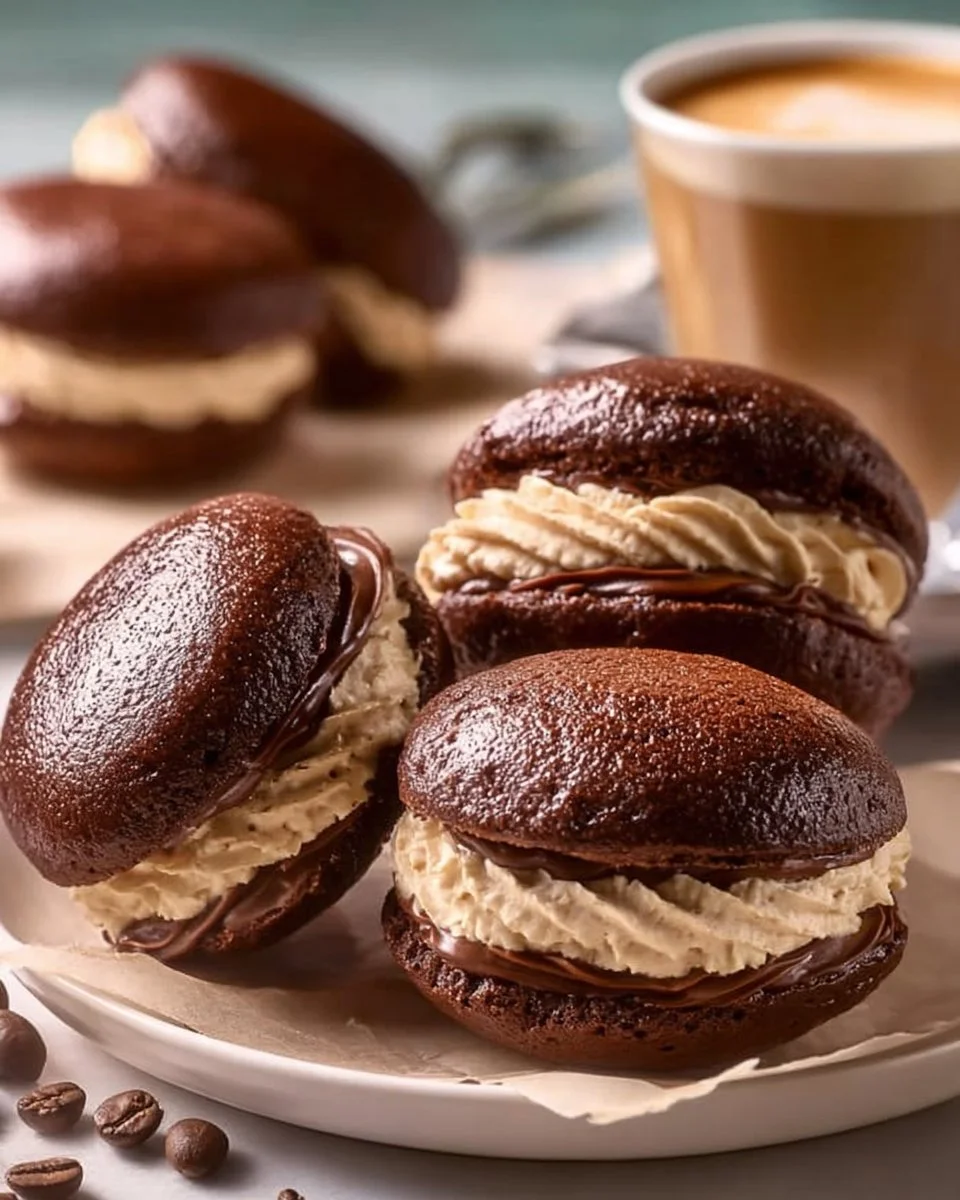
What I love most about these Chocolate Coffee Whoopie Pies is the unique combination of rich cocoa and the subtle kick of coffee. It’s like they had a late-night conversation about love and sweetness, and this recipe is the result. The fluffy filling, whether made with whipped cream or coffee cream, adds an airiness that contrasts beautifully with the cake-like cookies.
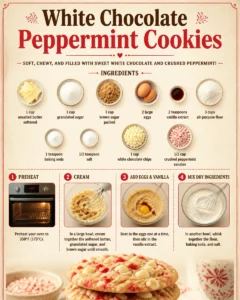
Another standout feature is how easy they are to customize. If you want to add a bit of peppermint for the holidays or experiment with different fillings, the sky’s the limit! It’s like a blank canvas waiting for your creativity. Just make sure to have fun with it!
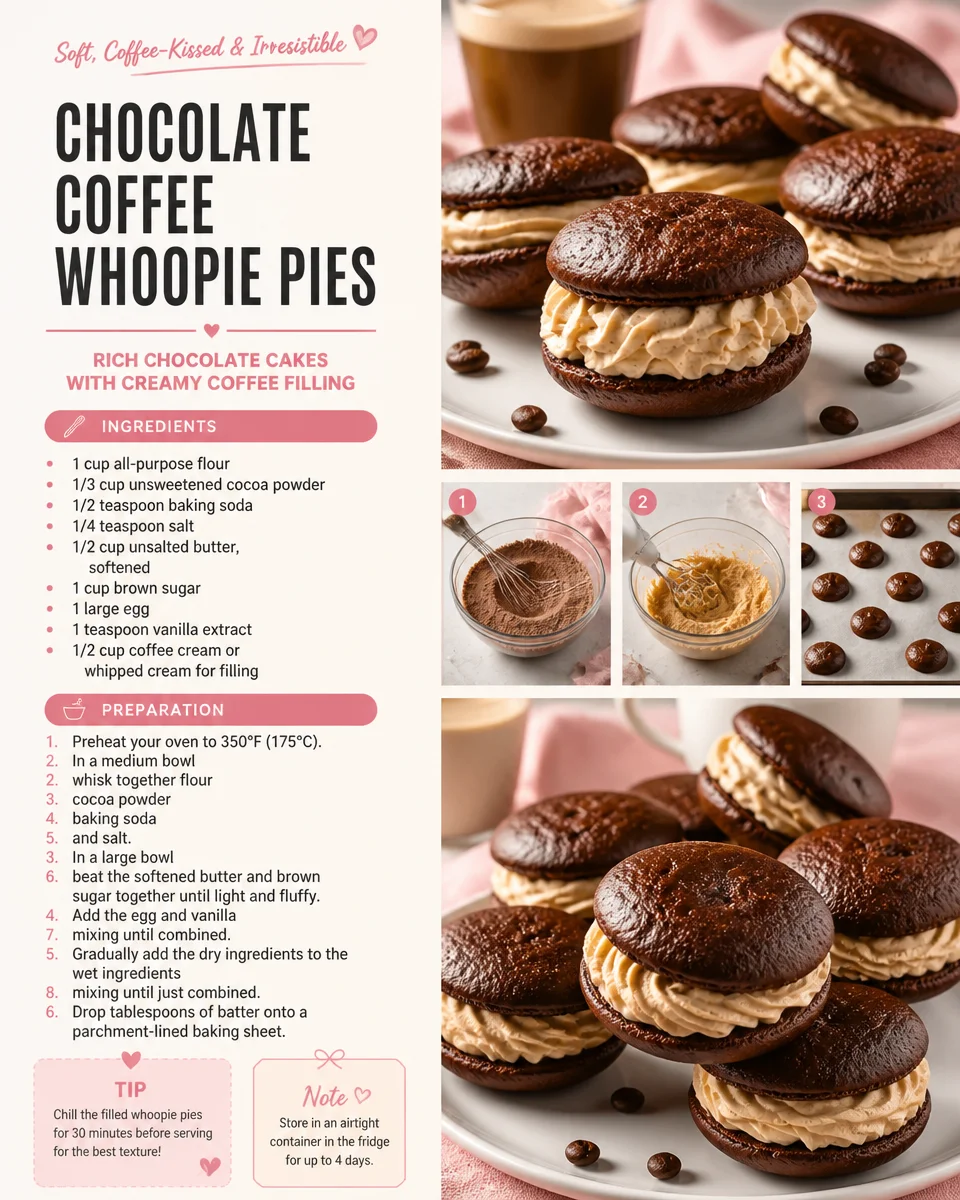
Ingredients
-
1 cup all-purpose flour: Gives the whoopie pies structure. You can easily substitute with gluten-free flour for a gluten-free version.
-
1/3 cup unsweetened cocoa powder: The star of the show! It provides that rich, chocolate flavor we all love. I recommend going for a high-quality brand; it truly makes a difference.
-
1/2 teaspoon baking soda: This helps the cookies rise. But be careful not to overdo it, or you might end up with some puffy, odd-shaped cookies (oops!).
-
1/4 teaspoon salt: Just a pinch to enhance the chocolate. Sometimes, too much salt can overwhelm the flavors, so keep it light.
-
1/2 cup unsalted butter, softened: Adds richness. Don’t forget to leave it out for a bit before starting so it can soften; trying to melt cold butter only leads to frustration!
-
1 cup brown sugar: This is crucial for that caramel-like sweetness— use light brown for a milder flavor or dark brown for a richer taste.
-
1 large egg: Binds everything together and adds moisture.
-
1 teaspoon vanilla extract: A splash of vanilla elevates the flavors. So essential!
-
1/2 cup coffee cream or whipped cream for filling: Depending on your mood, you can play around here. Whipped cream is light, while coffee cream offers a richer flavor.
For those moments that life throws a curveball, don’t stress about finding exact brands. I often find that using what’s available in my pantry can lead to delicious surprises. And, as always, if you try something wild and it backfires, I’m right there with you in the “oops” club.
How to Make It Step-by-Step
You’ve gathered your ingredients, and now it’s time to get your hands a little messy (in the best way possible!). Let’s make some magic.
-
Preheat your oven to 350°F (175°C). This is the calm before the storm— you know, the moment of zen before you embark on a culinary adventure.
-
In a medium bowl, whisk together flour, cocoa powder, baking soda, and salt. Feel the weight of the cocoa powder coming together with the flour— it’s sheer happiness, isn’t it? Take a moment to inhale that chocolate smell.
-
In a large bowl, beat the softened butter and brown sugar together until light and fluffy. You want to channel your inner drummer here; let that mixer do its beautiful work! It should look slightly pale and feel fluffy.
-
Add the egg and vanilla extract, mixing until combined. The mixture will turn even more vibrant, and oh, the smell will make you feel all kinds of warm fuzzies.
-
Gradually add the dry ingredients to the wet ingredients, mixing until just combined. I recommend doing this in batches to avoid flour clouds (trust me, kitchen oops moments happen).
-
Drop tablespoons of batter onto a parchment-lined baking sheet, spacing them about 2 inches apart. They spread in the oven, so don’t overcrowd them. Just picture them lounging together in cookie bliss.
-
Bake for 10-12 minutes or until they spring back when lightly touched. Keep an eye on them— no one likes burnt whoopie pies! You’ll know they are ready when the kitchen smells like a chocolate paradise.
-
Allow to cool before filling with coffee cream or whipped cream. This is the hardest part— not ripping a piece off while you wait. Seriously, someone put me on a dessert waiting list.
-
Sandwich two cookies together with the filling and serve. Admire your work! Take a selfie because you deserve a moment of triumph!
And, if you’re anything like me, you’ll be trying to lick the filling clean off your fingers by this point.
Tips for Best Results
-
Make sure your butter is at room temperature. This ensures a creamy, fluffy batter.
-
Don’t overmix; you want that tender texture that melts in your mouth. Mix just until combined.
-
Experiment with fillings! If you want to add a bit of flair, consider adding a sprinkle of espresso powder to your cream for an extra coffee punch, or fold in some mini chocolate chips.
-
Make sure to let your cookies cool completely before filling. Otherwise, you’ll end up with a melty mess, which is fine if you plan to eat them immediately but not ideal for presentation!
Ingredient Substitutions & Variations
Looking to shake things up? Here are a few ideas that could take your whoopie pies to the next level:
-
Gluten-Free: Swap all-purpose flour with a 1-to-1 gluten-free flour blend. Just watch the baking time— gluten-free treats can be a little trickier.
-
Vegan Version: Use plant-based butter, a flax egg (1 tablespoon ground flaxseed + 2.5 tablespoons water), and swap in almond or coconut cream for filling.
-
Different Flavors: Add spices like cinnamon or nutmeg to the batter for a warm twist, or experiment with flavored whipped creams!
-
Storing for Later: If you want to make these ahead of time, you can freeze the unfilled cookie halves and fill them before serving. The taste is fresh, and you can surprise friends with homemade desserts without the mess.
Directions
- Preheat your oven to 350°F (175°C).
- In a medium bowl, whisk together flour, cocoa powder, baking soda, and salt.
- In a large bowl, beat the softened butter and brown sugar together until light and fluffy.
- Add the egg and vanilla extract, mixing until combined.
- Gradually add the dry ingredients to the wet ingredients, mixing until just combined.
- Drop tablespoons of batter onto a parchment-lined baking sheet, spacing them about 2 inches apart.
- Bake for 10-12 minutes or until they spring back when lightly touched.
- Allow to cool before filling with coffee cream or whipped cream.
- Sandwich two cookies together with the filling and serve!
Pairing Ideas (Drinks, Sides, etc.)
These whoopie pies pair beautifully with a warm cup of coffee or a tall glass of cold milk. Honestly, they make perfect cozy companionship while you indulge in a rom-com on a stormy day. If you’re feeling adventurous, try serving them with a dollop of vanilla ice cream for an unexpectedly delicious sundae.
How to Store and Reheat Leftovers
Leftovers? If you somehow have any, store them in an airtight container in the fridge for up to five days. They’ll still taste fantastic, but trust me; they never last that long in my house! To reheat, just zap them in the microwave for about 10-15 seconds— you’ll relive the joy of that fresh-baked feeling!
Make-Ahead and Freezer Tips
When I have extra time, I often bake a double batch and freeze half for later. Let the cookies cool completely, then flash freeze them on a baking sheet before transferring to a freezer bag. They can stay in the freezer for up to three months. Just fill them the night before you plan to serve, and you’ll have a delicious treat ready to go!
Common Mistakes to Avoid
-
Overmixing: This can lead to dense cookies— nobody wants that! Gently fold in the dry ingredients for a light texture.
-
Skipping the Cooling Time: I know, it’s tempting, but filling warm cookies will turn your cream into goo. Patience, my friend!
-
Not Using Parchment Paper: Trust me, even if you think you’re an expert, things can stick! Always line your baking sheets.
Frequently Asked Questions (FAQ)
Can I use a different filling?
Absolutely! You can use cream cheese frosting, flavored whipped creams, or even a rich ganache for unique twists!
How do I know when my cookies are done?
You want them to be slightly firm when touched but still spring back a little. They should not look shiny or wet.
Can I make these without a mixer?
Yes, a whisk and some elbow grease will do the job! Just make sure to cream the butter and sugar well.
How do I make sure my whoopie pies are uniform in size?
Use a cookie scoop for uniformity! It’s an easy trick that gives you perfectly sized cookies every time.
Can I substitute instant coffee for brewed coffee in the filling?
Definitely! Just make sure it dissolves in a little hot water before adding it to your cream.
Cooking Tools You’ll Need
- Mixing bowls (various sizes)
- Whisk or electric mixer
- Baking sheets
- Parchment paper
- Cookie scoop or tablespoon
- Cooling rack
Final Thoughts
Making Chocolate Coffee Whoopie Pies is not just about creating a delicious treat; it’s about making memories in the kitchen. It’s the laughter, the chat over the mixing bowl, the happy dance as you pull those warm cookies out of the oven. I can’t encourage you enough to embrace the mess, the chaos, and the sheer pandemonium of baking— because that’s where the joy is found.
If you enjoyed this recipe, don’t forget to save it on Pinterest or share it with a friend! Who wouldn’t want to enjoy a little bit of chocolatey happiness in their lives?