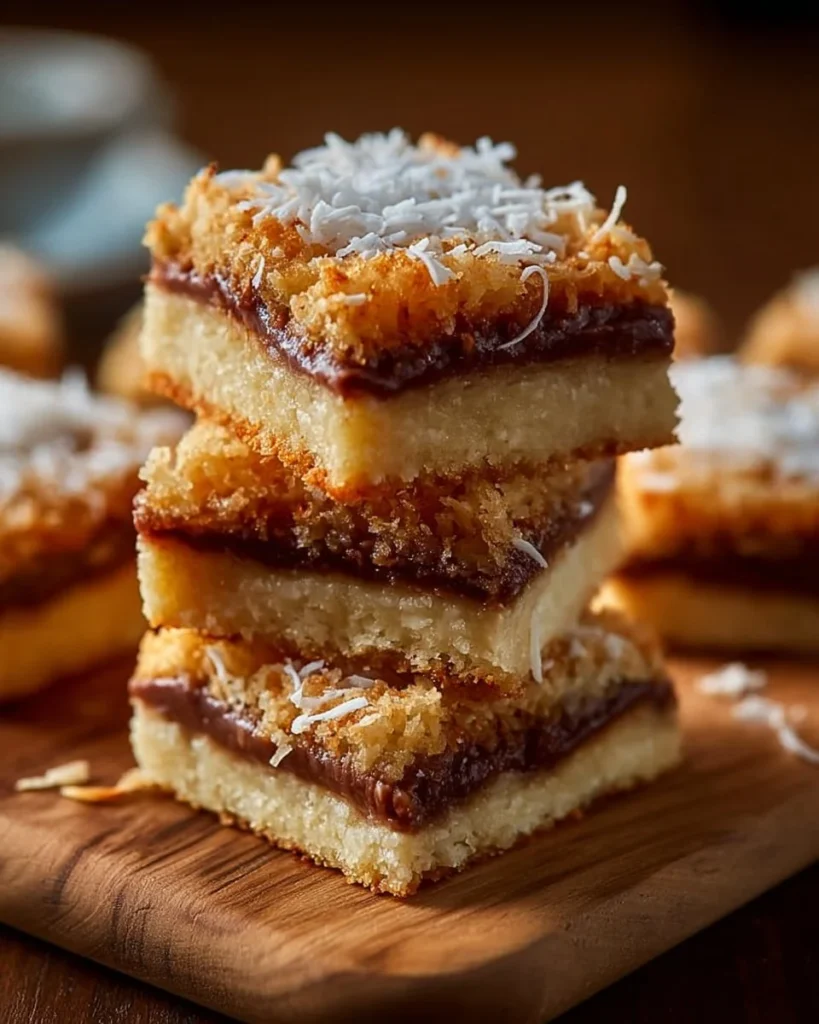
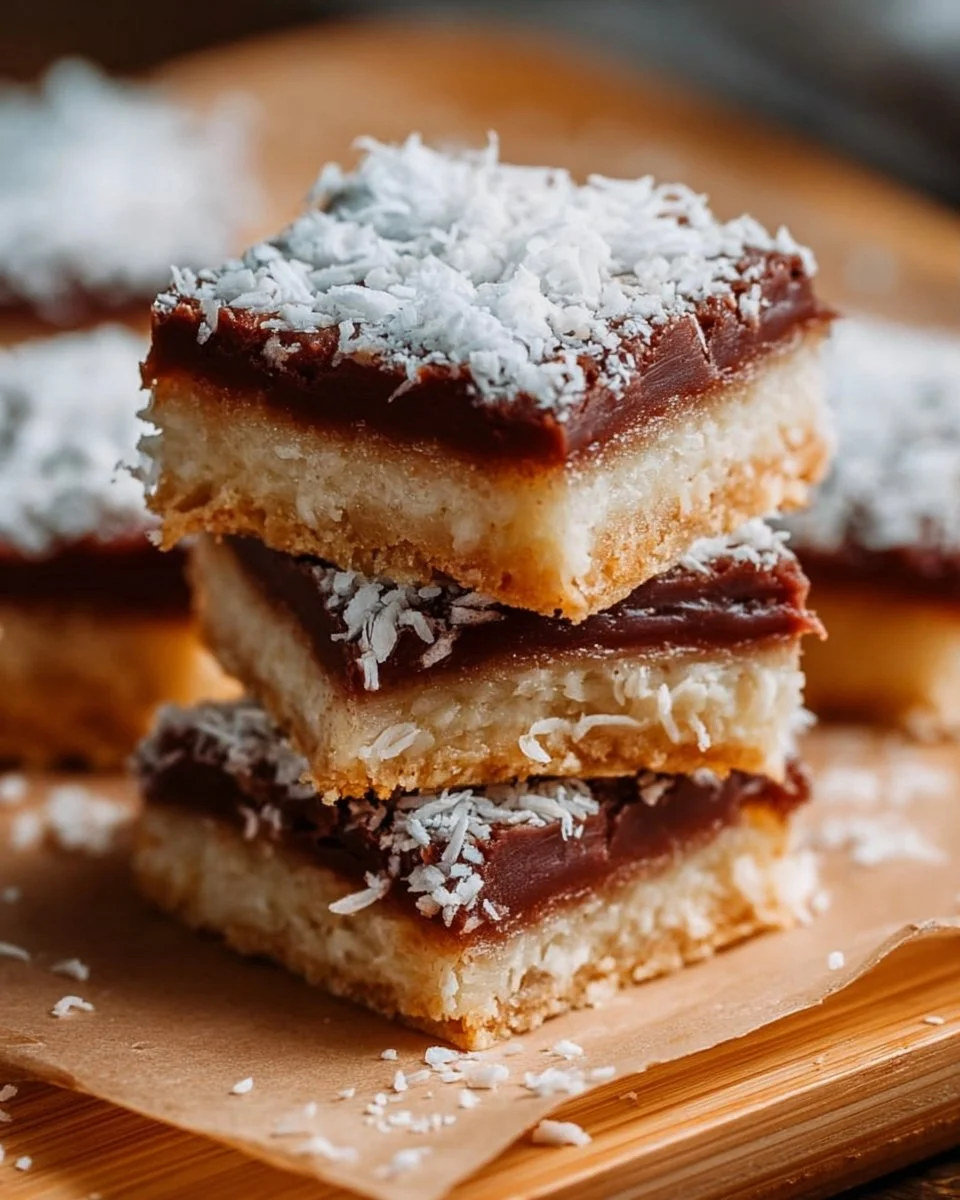
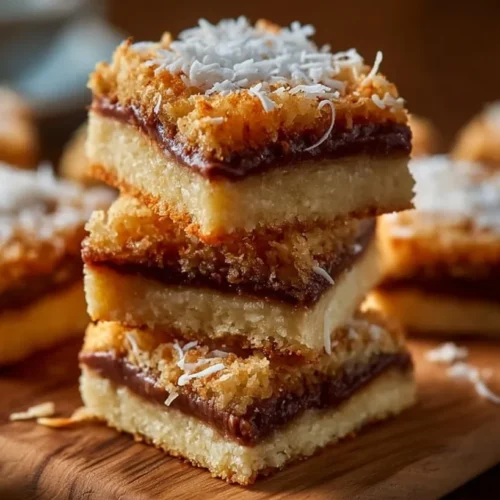
Easy Coconut Dream Bars
I still remember the first time I tried these Coconut Dream Bars—my kitchen looked like a coconut snow globe and I was three-quarters sure I’d invented a new kind of sticky disaster. To be real, I was trying to whip up a dessert between folding laundry and refereeing a sibling rivalry over the TV remote. The result? Pure joy. These bars are the kind of treat that sneaks up on you: a buttery, shortbread-like base, then a gooey, coconut-sweet topping that crackles just right at the edges. Honestly, they smell like a vacation in your oven, even if your only vacation is a five-minute walk to the mailbox.
They pair perfectly with everything from a chaotic school-night dinner to a laid-back Sunday coffee. I bring them to potlucks, tuck them in lunch boxes (because yes, they survive the commute), and slice them up for midnight snack raids. If you’re into budget-friendly recipes or need a dessert that feels fancy without a fancy effort, this is it. They’re forgiving, fast, and somehow manages to evoke nostalgia—like a stop-motion memory of grandma’s kitchen, even if grandma was wildly experimental with canned frosting and questionable jello.
This recipe deserves a spotlight in your rotation because it’s approachable, forgiving, and irresistibly coconut-forward. And in case you’re wondering where this sits amid your menu planning: they’re a brilliant finish after easy weeknight dinners, a sweet companion for quick family meals, and a decadent reward when you’ve managed to follow any part of your meal prep plan. You’re going to laugh at how few ingredients it takes. You’ll also be the person people ask to “bring something simple” because this looks like you spent all day when you honestly spent twenty minutes and a little faith.
Why You’ll Love This Recipe (budget-friendly recipes)
- Ridiculously simple: a three-ingredient base-ish? Okay, four—plus a dreamy coconut filling. It’s basically foolproof for quick family meals and dessert emergencies.
- Crowd-pleaser: kids, coworkers, and picky eaters give it the thumbs-up (and then ask for second helpings).
- Economical: uses pantry staples so it’s perfect in a rotation of budget-friendly recipes.
- Keeps well: make ahead, cut small, stash in an airtight tin—ideal for meal prep microwave lunches or a sweet addition to lunchboxes.
- Versatile: sprinkle chocolate chips if you’re feeling decadent or keep it coconut-only for a purer vibe.
- Comforting: it’s like a coconut-sweet hug—utterly nostalgic and deeply satisfying.
What Makes This Recipe Special?
This isn’t just “another coconut bar” you find online. The magic is in the contrast: a crisp, buttery base that shatters under your fork and a gooey, caramel-like coconut layer that bounces back with a satisfying chew. I learned early that the balance matters—too thin a base, and the topping floods; too much flour, and you get rocks. Oops. Also, the sweetened condensed milk is the trick that turns shredded coconut into something lusciously sticky and almost candy-like without standing over a double boiler. Add a handful of chocolate chips? Then you have the little pockets of cocoa that melt into the coconut, making the bars dangerously snackable.
There’s also a sentimental thing: these bars were my peace offering after a kitchen argument with my best friend over who didn’t wash dishes (long story). I baked them, she accepted the olive branch, and we both ate our feelings. From that day, Coconut Dream Bars became our friendship ritual. They’re quick enough to whip up as an apology or a celebration.
Ingredients
- 1 cup unsalted butter, softened: the backbone. Use high-quality butter for the most tender base; the flavor difference is real.
- 1 cup all-purpose flour: gives the crust structure. Measure with a light hand—no aggressive scooping.
- ½ cup powdered sugar: for a slightly delicate, shortbread-like crumb. Granulated sugar will make it grainier. Don’t swap this unless you want a crunchier bite.
- 1 cup sweetened shredded coconut: the star—sweet and chewy. Toast a little for extra depth if you like.
- 1 egg: binds the coconut topping and helps it set.
- 1 cup sweetened condensed milk: creates that caramelized, gooey top. This is the secret to the dreamy texture.
- 1 teaspoon vanilla extract: rounds flavors and keeps everything smelling heavenly.
Optional add-ins: ½ cup chocolate chips (semisweet or milk), additional toasted coconut for sprinkling on top.
Why each one matters:
- Butter: don’t skimp. I’ve tried margarine and a low-fat block once—big mistake. It slumped, separated, and was sad. Use real butter.
- Powdered sugar: makes a tender crust. It disappears into the butter, unlike granulated sugar which leaves grit.
- Sweetened condensed milk: yes, it’s sweet. But it’s also the glue that keeps the coconut chewy and the topping glossy. I don’t recommend using evaporated milk unless you adjust sugar—different beast.
- Egg and vanilla: small but crucial—egg gives body and a bit of lift; vanilla adds warmth.
Substitutions I use sometimes: swap half the shredded coconut for toasted coconut chips for texture. Use dairy-free butter and a vegan egg substitute for plant-based friends; results vary but still good. If you need less sweet, reduce the chocolate chips or skip them.
Don’t do this: don’t overbake to “dry it out” thinking it’ll set faster. It will crisp, but lose its dreamy chew. Also, don’t press the crust too thin or it will burn at 350°F before the topping sets.
How to Make It Step-by-Step
Preheat your oven to 350°F (175°C). Grease an 8×8 or similar baking dish. Yes, grease it well—this is one of those times where parchment might tempt you, but greasing makes removal easier and keeps those edges slightly crisp. I’ve learned that the pan you use changes everything. A glass dish tends to brown faster than metal, so adjust time by a few minutes.
In a mixing bowl, cream together the softened butter and powdered sugar until fluffy. I like to beat it for a solid two minutes. It should start pale and a bit cloud-like. Your arm will feel accomplished afterward if you do it by hand. If you’re in a rush, use a hand mixer. I once forgot to soften the butter and had to microwave cubes—don’t be me. Room-temperature butter is forgiving and honest.
Gradually add the flour and mix until a dough forms. It’s a crumbly, pliable dough—think shortbread. When it holds together under pressure, you’re golden. Press the dough into the bottom of the prepared baking dish. Use a flat measuring cup or your fingers dusted with flour for an even crust. Aim for an even thickness; I aim for about ½ inch. This is when I play music loudly and pretend I’m on a baking show.
In another bowl, combine the shredded coconut, egg, sweetened condensed milk, and vanilla extract. Stir until well combined. The mixture will be wet and shiny—like a caramel-tinged coconut salad. If you’re adding chocolate chips, reserve them for sprinkling on top rather than mixing in; I like them as little islands of cocoa in a sea of coconut.
Pour the coconut mixture over the crust and spread evenly. Don’t be too neat. This topping has a mind of its own; I’ve used a spatula and the back of a spoon. If you want toasted coconut on top, sprinkle it now. It gives such a lovely nutty crunch. Add the chocolate chips now if you prefer them on the surface or halfway in if you want melted streaks.
Bake for 25–30 minutes or until the edges are golden brown. Keep an eye on it—ovens love to run hot. The center should be set but slightly jiggly; it will continue to firm up as it cools. I learned VERY quickly: if you pull it out when it’s still wobbly and impatiently slice, you’ll have a gooey mess that is still delicious but not bar-shaped.
Allow to cool completely before cutting into bars and serving. This is the true test of patience—waiting for them to cool. If you’re impatient like me, chill for 30–45 minutes to speed things along. The bars cut cleaner when cool. I’ve gotten away with warm slices in a pinch and no one complained, but they do look prettier after a cool-down.
I’ve done this in a million little variations: doubled the recipe without changing bake time and it worked; accidentally swapped unsalted for salted butter and turned these into an addictive sweet-salty treat; left them in the oven 10 extra minutes and they became cookie-like instead of bar-like. Each “oops” taught me a tiny truth about the bake.
Tips for Best Results
- Use room-temperature butter for a smooth crust—cold will leave lumps, melted will make it greasy.
- Toast a little coconut before mixing for an extra layer of flavor. Watch it closely; coconut toasts fast.
- Don’t overbake. Pull when edges are golden and center is just set. They finish on the cool rack.
- For neat squares, chill before slicing and use a sharp knife wiped between cuts.
- If you love contrast, sprinkle flaky sea salt on top after baking for a salty-sweet pop.
Ingredient Substitutions & Variations
- Dairy-free: swap to a plant-based butter and use a vegan condensed milk or a homemade combo of coconut milk and sugar reduced to a thicker syrup. Texture will shift, but it’s doable.
- Chocolate lovers: fold in ½ cup chocolate chips or drizzle melted chocolate over cooled bars. Instant upgrade.
- Nutty swap: fold in ¼ cup chopped macadamias or almonds for crunch. Toast them first for extra flavor.
- Less sweet: choose unsweetened shredded coconut and reduce chocolate chips. Keep the sweetened condensed milk for the binding.
- Seasonal twist: add a tablespoon of orange zest to the coconut mixture in winter for holiday vibes.
Directions
- Preheat oven to 350°F (175°C) and grease an 8×8 baking dish.
- In a bowl, cream 1 cup softened unsalted butter with ½ cup powdered sugar until fluffy.
- Gradually add 1 cup all-purpose flour and mix until dough forms. Press into bottom of dish.
- In another bowl, mix 1 cup sweetened shredded coconut, 1 egg, 1 cup sweetened condensed milk, and 1 teaspoon vanilla until combined.
- Pour coconut mixture over crust and spread evenly. Sprinkle ½ cup chocolate chips and extra toasted coconut if using.
- Bake 25–30 minutes until edges are golden. Cool completely before cutting into bars.

Pairing Ideas (Drinks, Sides, etc.)
These bars are sweet, rich, and coconut-forward, so pairings should either complement or cut through that richness. A strong cup of coffee or an espresso balances the sweetness beautifully and wakes you up. For a cozy evening, try a mug of chicory coffee or a simple black tea. If you’re feeling playful, a citrusy sparkling water or a bright lemon sorbet on the side refreshes the palate. Serve as a dessert after easy weeknight dinners or alongside a scoop of vanilla ice cream for a decadent finale. They also work well on dessert boards with fresh fruit and nuts for a potluck.
How to Store and Reheat Leftovers
Keep bars in an airtight container at room temperature for up to 3 days, or refrigerate for up to a week. If you prefer a softer texture, store at room temperature; for firmer bars, refrigerate. Reheat gently in a microwave for 10–15 seconds to soften if chilled, or pop in a low 300°F oven for 5–8 minutes to revive that just-baked aroma. I once microwaved one for 30 seconds and it turned into a molten coconut puddle—delicious but messy—so short bursts are best.
Make-Ahead and Freezer Tips
Make the bars up to 48 hours in advance and keep refrigerated; slice just before serving for cleaner edges. For longer storage, freeze in an airtight container with parchment between layers for up to 3 months. Thaw overnight in the fridge and bring to room temperature before serving. If you want to freeze individual portions, wrap each square in plastic and then foil—they thaw quicker and stack nicely for grab-and-go treats.
Common Mistakes to Avoid
- Overbaking: dries out the topping—pull when the center is just set.
- Using melted butter in the crust: makes it greasy and dense. Use softened, not melted.
- Forgetting to grease the pan: bars will cling and crumble when you try to remove them.
- Cutting too soon: impatient slicing leads to squished, sticky pieces. Chill for cleaner cuts.
- Skimping on vanilla: it’s small but mighty—don’t skip it.
Frequently Asked Questions (FAQ)
Q: Can I make these gluten-free?
A: Yes. Substitute the all-purpose flour with a 1:1 gluten-free baking blend. Texture may be slightly crumblier but still delicious.
Q: Can I use unsweetened condensed milk?
A: Not really—sweetened condensed milk is part of what makes the topping sticky and sweet. You’d need to add sugar if using unsweetened versions.
Q: How do I get the topping to set properly?
A: Bake until edges are golden and the center is just set. Cooling fully is key; chilling helps faster.
Q: Can I double the recipe?
A: Yes, just use a larger pan and watch bake time—add 5–10 minutes and check frequently.
Cooking Tools You’ll Need
- 8×8 baking dish (or similar)
- Mixing bowls
- Hand mixer or whisk (hand-mixing works fine)
- Spatula and measuring cups/spoons
- Sharp knife for slicing
- Optional: baking sheet for toasting coconut
Final Thoughts
I adore these Coconut Dream Bars because they feel like something baked with intention even when they’re made in the middle of chaos. I’ve made them on sleepy Sunday mornings, in the middle of movie marathons, and as a last-minute treat to apologize for taking the last donut (true story). They’re forgiving enough for novice bakers and flexible enough for experienced hands who love to tinker. The combination of buttery crust and chewy coconut topping hits that sweet-then-texture-note that makes people go “wow”—and then quietly go back for another.
If you try them, stash one in your bag (wrapped, please) and take it to someone who needs a pick-me-up. Or share them at a potluck and watch strangers suddenly have a new best friend. These bars feel personal because they’ve been part of so many small moments in my life—apologies, celebrations, quiet afternoons—and I hope they make a spot in your heart (and snack drawer) too.
If you enjoyed this recipe, don’t forget to save it on Pinterest or share it with a friend!
Conclusion
For another take on this classic, check out Art of Natural Living’s Coconut Dream Bars for their helpful tips and photos. If you want a variation that layers coconut and chocolate differently, see the version at Rock Recipes’ Coconut Dream Bars. For a baker’s perspective and a slightly different method, I like how 52 Kitchen Adventures presents their Coconut Dream Bars. And if you’re collecting ideas and need another helpful guide, Ally’s Sweet & Savory Eats’ Coconut Dream Bars is a lovely resource.
Coconut Dream Bars
Ingredients
Base Ingredients
- 1 cup unsalted butter, softened Use high-quality butter for the most tender base.
- 1 cup all-purpose flour Gives the crust structure. Measure lightly.
- ½ cup powdered sugar Provides a delicate, shortbread-like crumb.
Topping Ingredients
- 1 cup sweetened shredded coconut The star ingredient; toasting enhances flavor.
- 1 large egg Binds the coconut topping.
- 1 cup sweetened condensed milk Creates a gooey topping.
- 1 teaspoon vanilla extract Rounds out flavors.
- ½ cup chocolate chips Optional; adds chocolatey pockets.
Instructions
Preparation
- Preheat oven to 350°F (175°C) and grease an 8x8 baking dish.
- In a bowl, cream together the softened butter and powdered sugar until fluffy.
- Gradually add the flour and mix until a dough forms. Press into the bottom of the baking dish.
Making the Topping
- In another bowl, mix together the shredded coconut, egg, sweetened condensed milk, and vanilla extract until well combined.
- Pour the coconut mixture over the crust and spread evenly. Sprinkle with chocolate chips if using.
Baking
- Bake for 25–30 minutes or until edges are golden. Allow cooling completely before cutting into bars.